How to use welcome system on the BMW platform-Android Version
Preparation
3288 pcDuino9s *1
Facial Recognition Camera*1
Display Screen (Supporting HDMI Port) *1
DeepCam BMW Platform*1
Router/POE*1
Ethernet Cable*2
Step 1: Device Connection
- PcDuino9s—- Ethernet Cable—-POE
- PcDuino9s—-HDMI—- Display Screen
- PcDuino9s—-Power Supply
- Facial Recognition Camera—- Ethernet Cable—-POE
Note: Please make sure both of PcDuino9s and Facial Recognition Camera on the same local area network (LAN)
Step 2: Facial Recognition Camera Setting
- Download the tool to search IP address of Facial Recognition Camera (Download Link: )
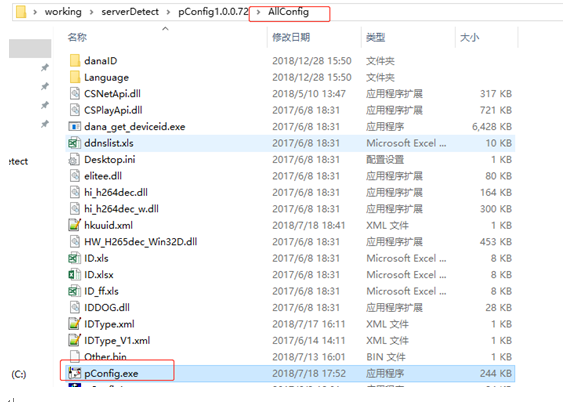
- Search the IP address of Facial Recognition Camera (According to MAC address of facial recognition camera to find corresponding IP address. )

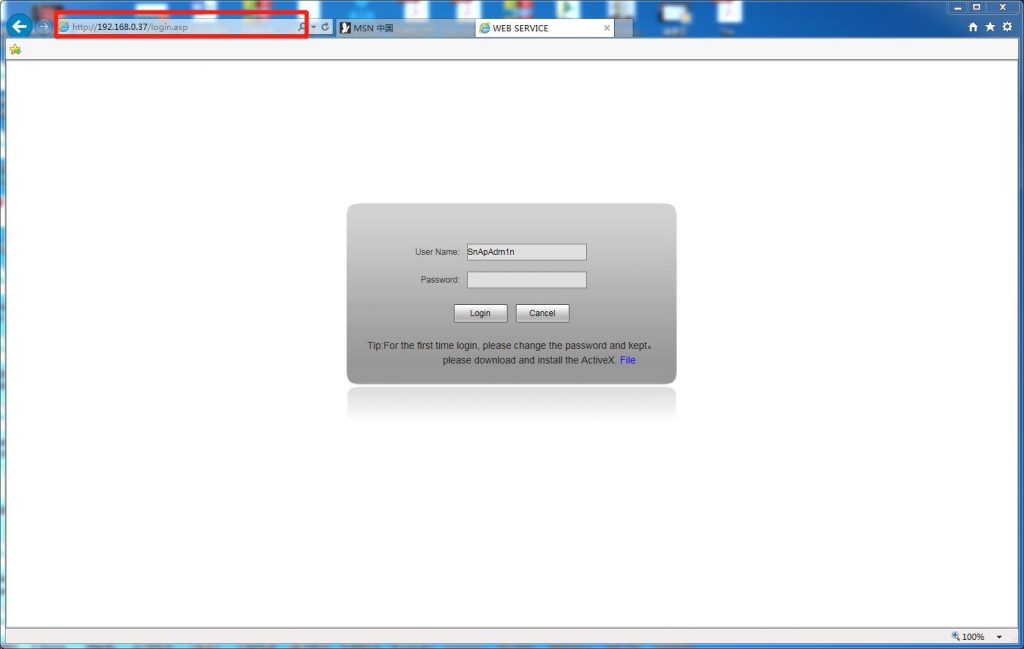
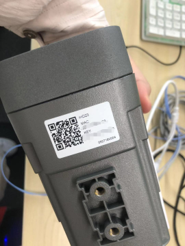
- Entering the IP address of the camera in IE browser (IE ONLY) to access parameter setting. The user name is default, the password is the KEY in the bottom strip of the camera.
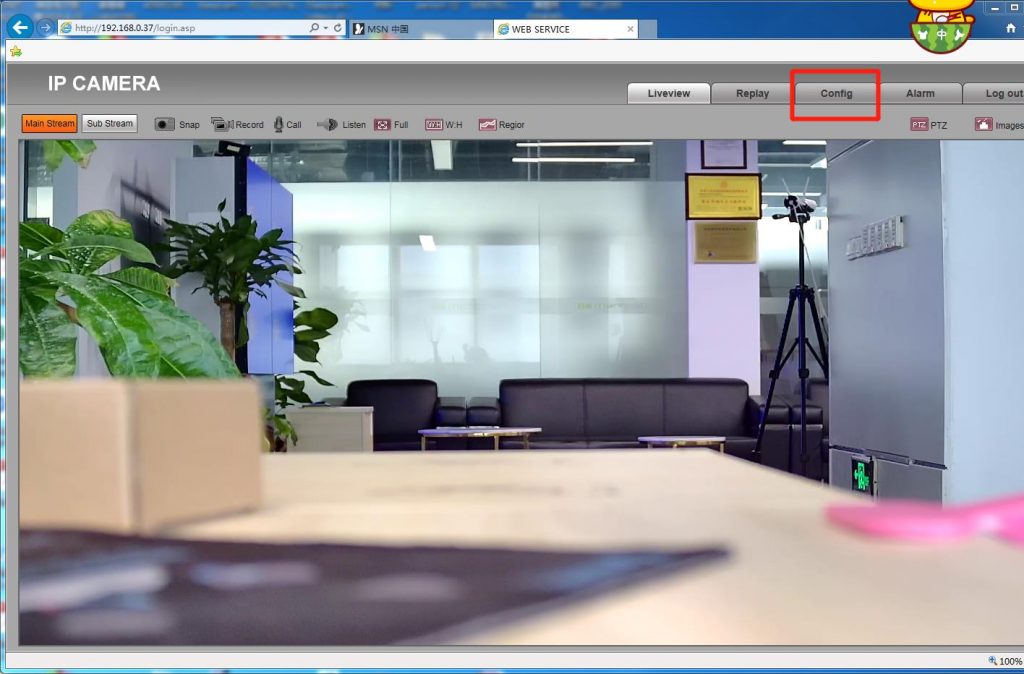
- After get access to web, click “Config”
5. Config item – Smart Analytics – Smart Face – FTP Upload
Change to “OPEN”

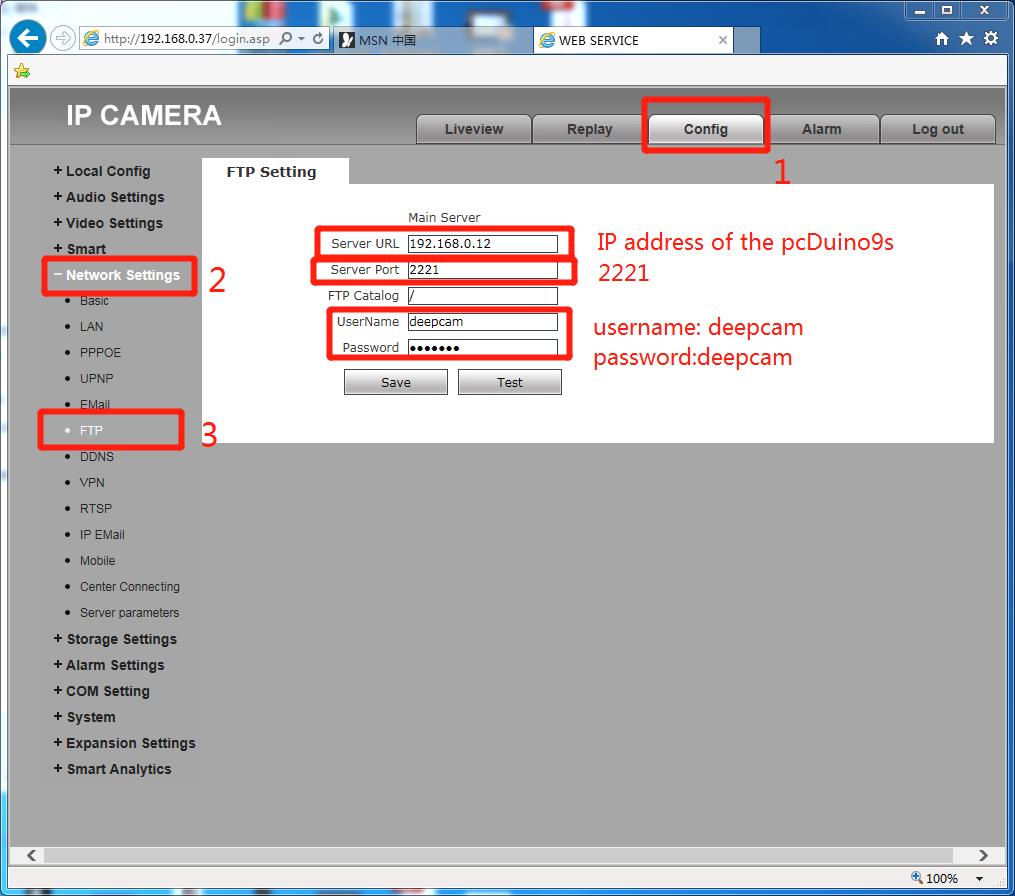
6. Config item – Network Settings – FTP
Server address: IP address of the pcDuino9s
Server port: 2221
Username and password: deepcam
Step 3: Welcome System setting
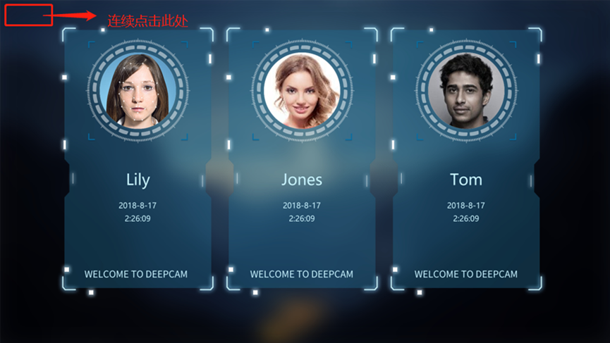
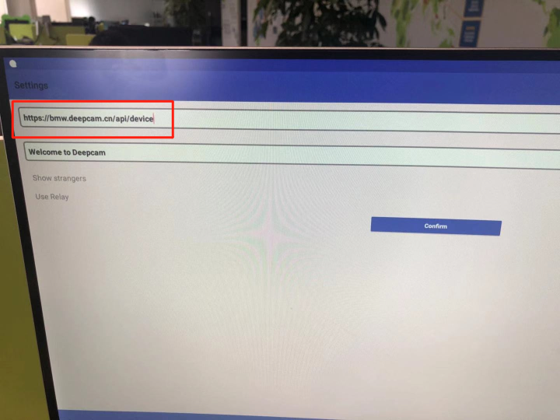
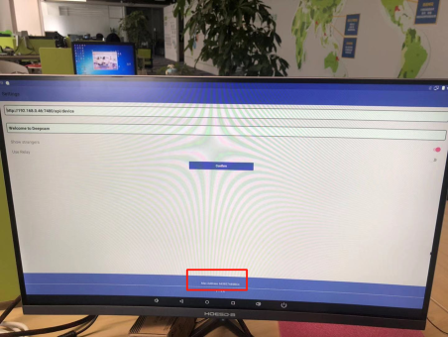
- Entering the welcome application, to use the mouse to continuous click in the upper left corner to enter the settings page
- Putting the address: https://bmw.deepcam.cn/api/device
Step 4: BMW Platform Setting
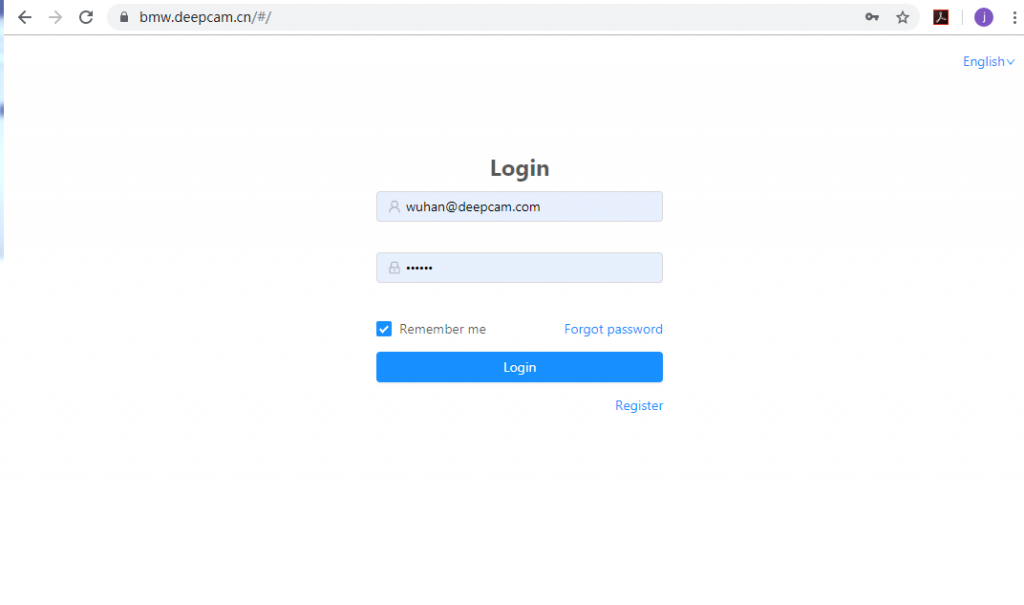
- Log in BMW platform: https://bmw.deepcam.cn/#/
- Adding welcome device: Select Device Management – Device List, click Create Device and enter relevant parameters to add the device. After adding, confirm the online status of the device. Green is online and red is offline.
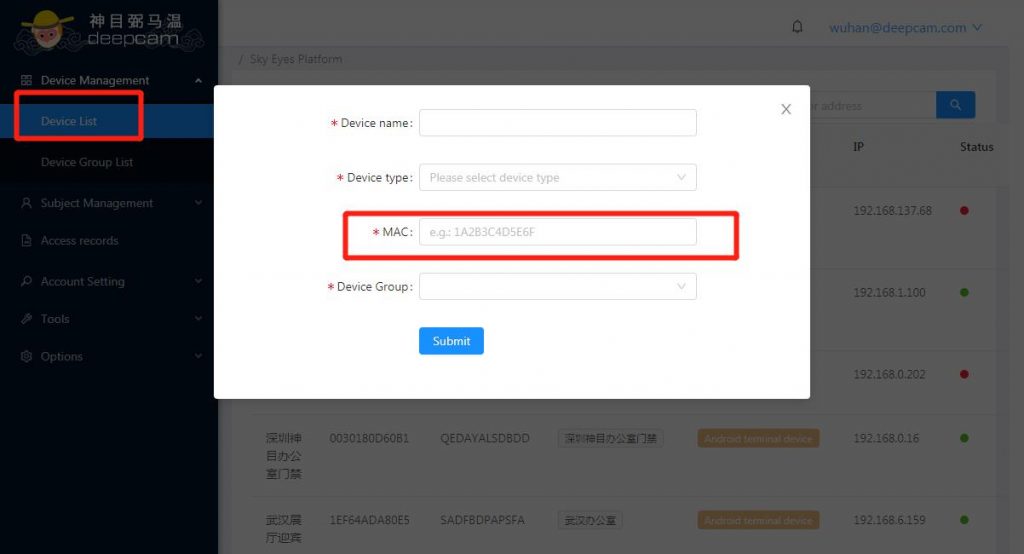
Hw to find welcome MAC address?
open the welcome APP application, to use the mouse to continuous click in the upper left corner to enter the settings page, and the mac address of the device is recorded (the unique identification at the bottom of the interface or the mac address of the Ethernet), click the confirm button to complete the setting.

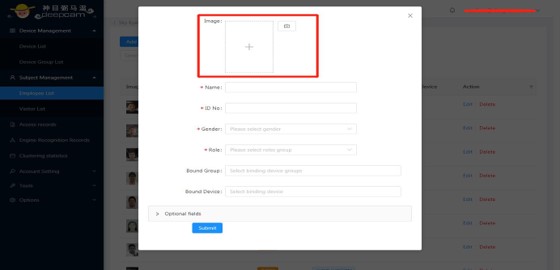
- Adding Subject: Selecting Subject Management – Employee List Management, click the “Add Subject” button to enter a single face photo.
Name: # Required field
ID Number: # Required fields, set according to user needs
Gender: # Fill in as the actual
Role # The role is set in advance, and the personnel can be set accordingly.
Bound group # The photo of the person can be sent to the specified device group. If it is not set, it will be delivered globally.
Bound device # The device photo download according to the device group.
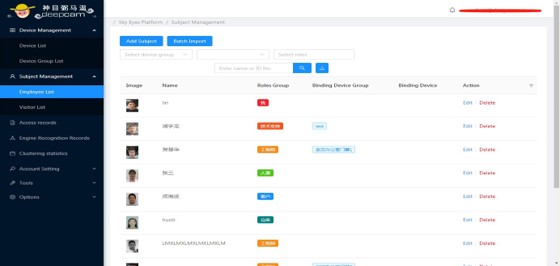
- Batch import:
Selecting “Subject Management – Employee Management” and click the “Batch Import” button to enter the import file interface. You need to upload the face data according to the file template to upload successfully. You can click “Download Template” to download the template and fill in the template format. After the information and pictures are filled in and stored separately, the personnel data is batch-imported into the system through the import file.

When someone visits the camera, the welcome page will successfully broadcast the welcome message (the language can be changed by setting the system language)